News
Top Tips for Applying Wall Decals

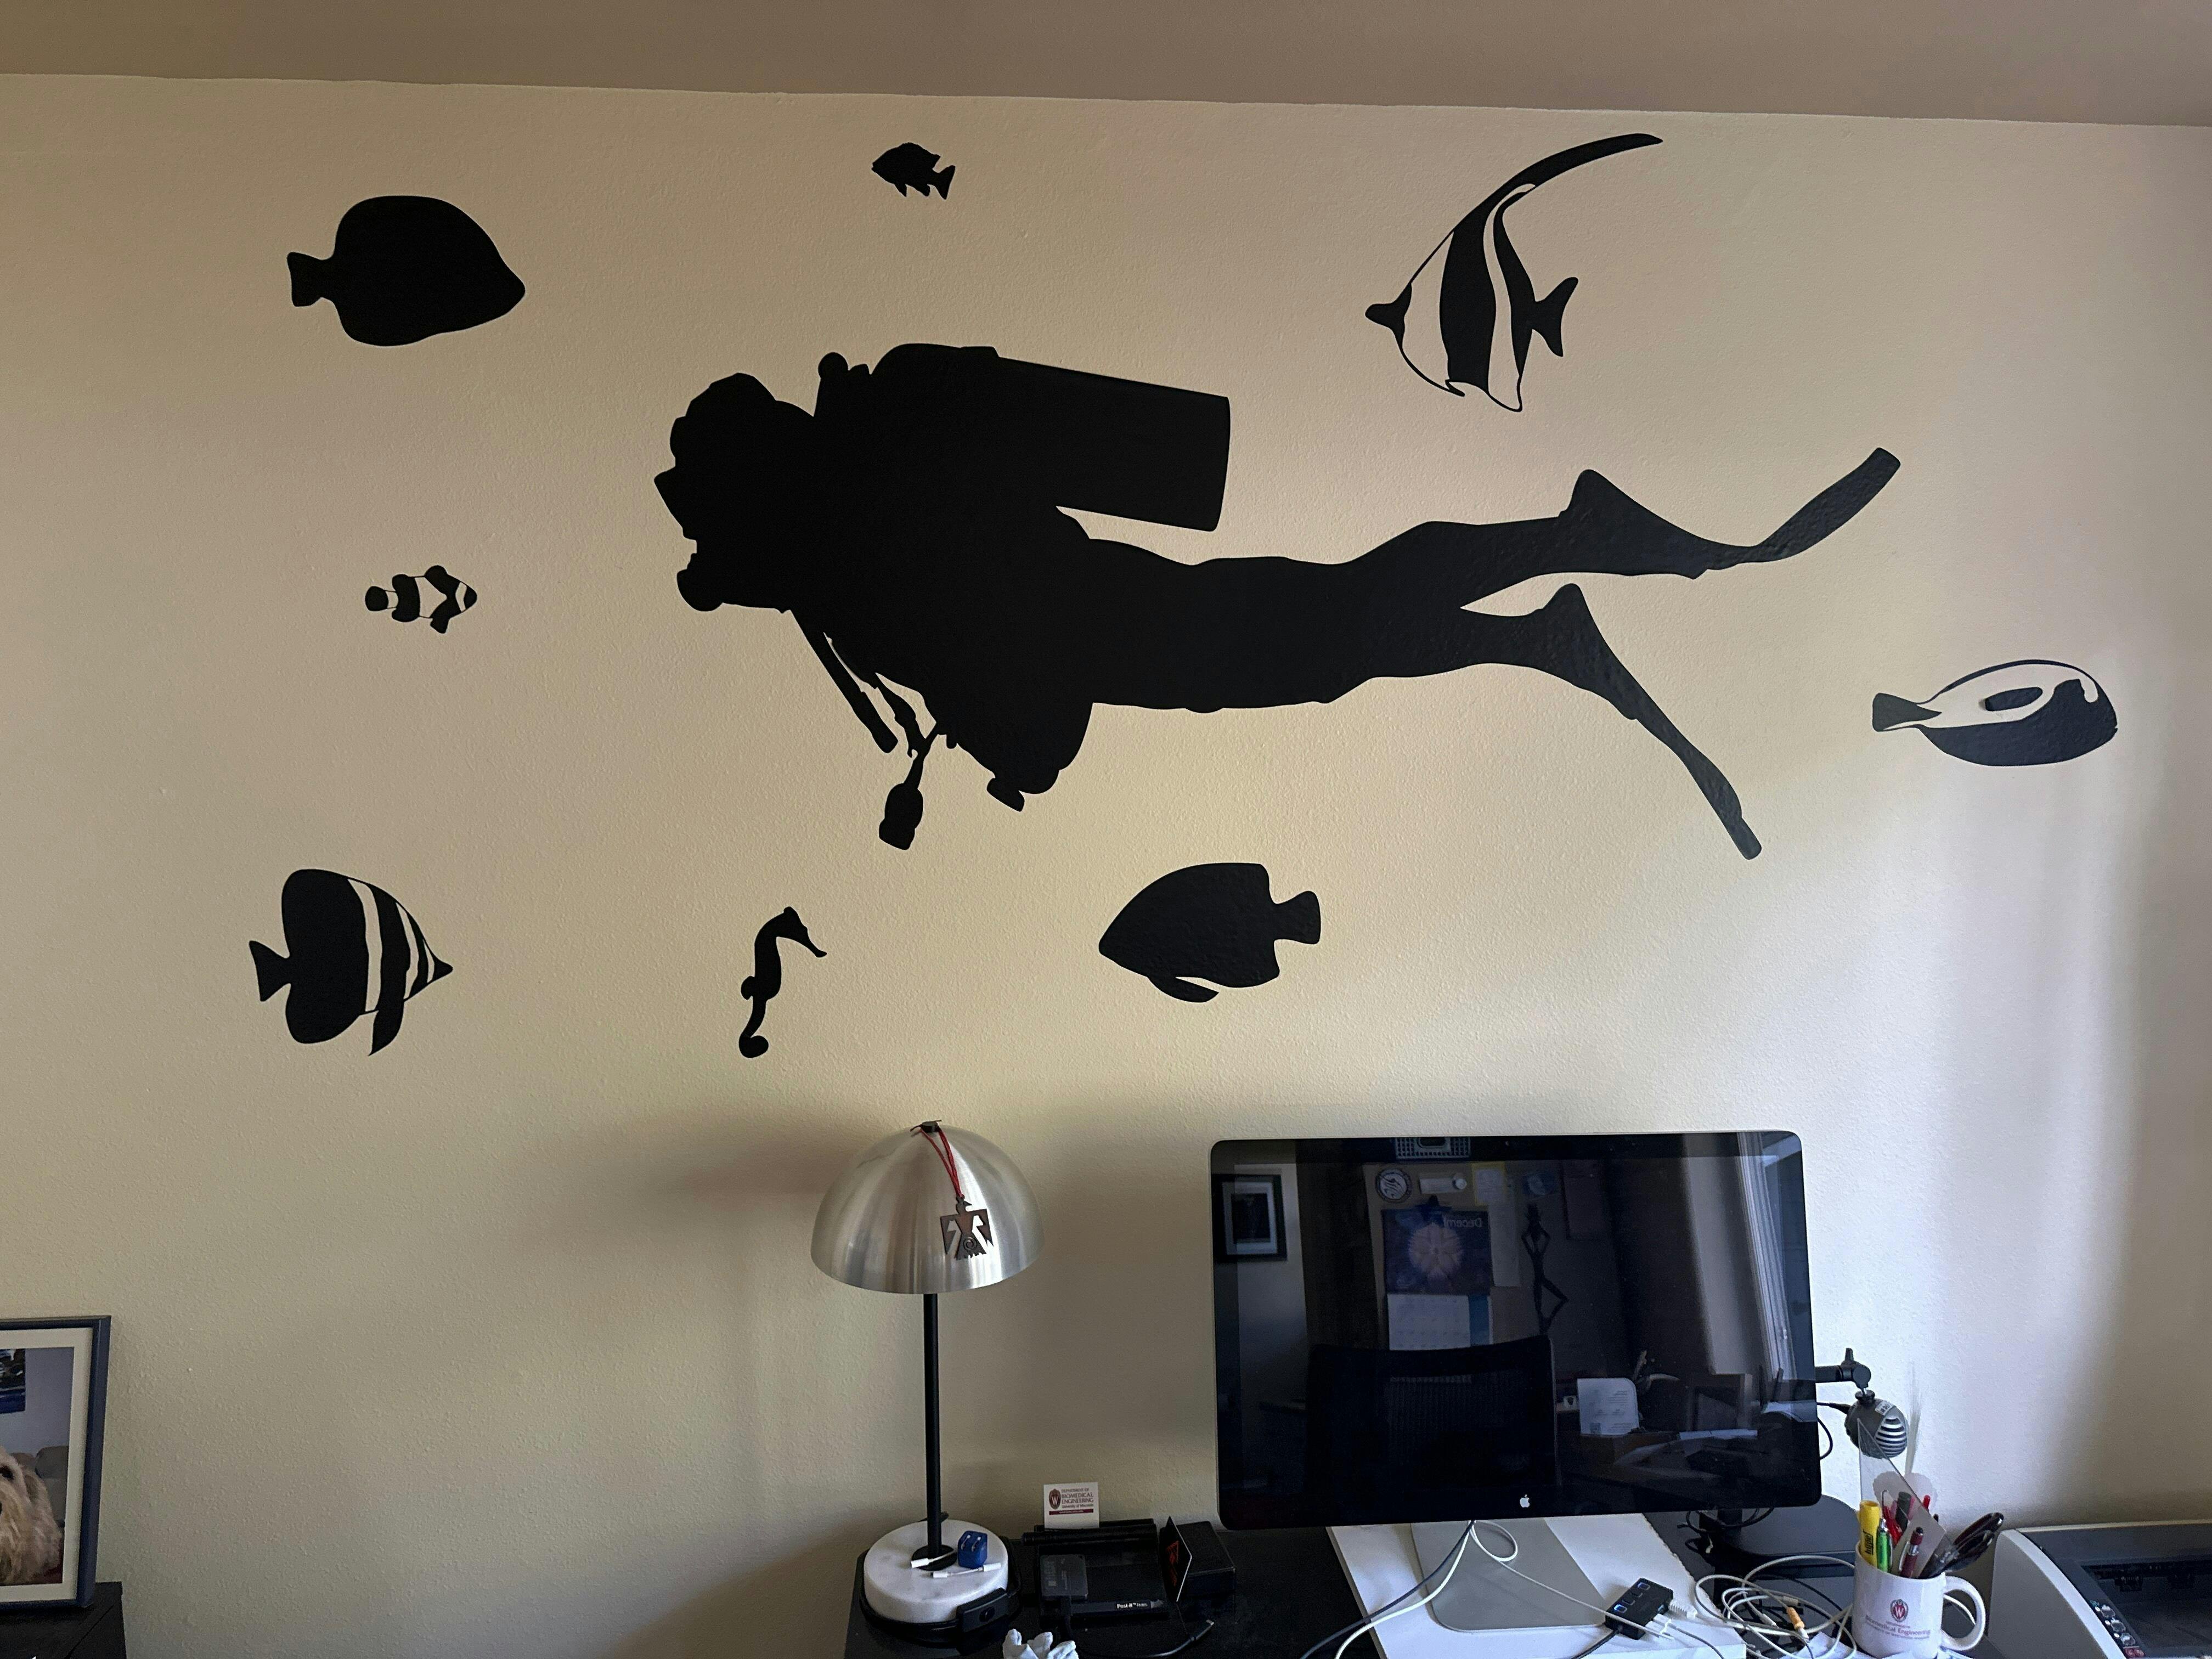
Putting up wall decals is a quick and easy way to spruce up your home. They come in every shape, size, and color imaginable, and best of all, they are designed for a fast and painless application. These top tips for applying wall decals can help you achieve both the perfect placement and stick.
Prepare Your Wall
Before you start applying your decal, you'll need to prepare the surface of your wall. If you leave any dirt or oil behind, your decals might struggle to stick. You can remove any dirt with a damp sponge and get rid of oil with a small amount of gentle, wall-safe soap. Make sure your wall has enough time to dry. Once you finish, wait a full 24 hours before applying your decal.
Get the Right Tools
Another top tip for applying wall decals is to make sure you have the right supplies. A tape measure and easily removable tape like masking or painter's tape can help you figure out the best possible placement for your decal. For smoothing out any air pockets, you can use a straight-edged ruler or another long, flat object, like a credit card. Apart from that, all you'll need is a nice, clean wall and your decal.
Find the Right Placement
You might already have a spot in mind, but it's not a bad idea to double-check. With the paper backing still attached, you can temporarily tape your decal to your desired location with masking or painter's tape. Step back and determine whether you're happy with the decal's placement. If you're not, keep adjusting it until you've found the perfect spot. To help you apply your decal, you can mark the spot with a pencil. Make sure that your markings are light, but easy for you to see.
Apply Your Decal
Thankfully, applying decals is a simple process. Start by removing the backing paper. This is the part that protects the decal's adhesive side. Line up the decal with your guideline, if you made one, and carefully stick it to the wall. Make sure to take your time. While most decals are adjustable, it's better to get it right on your first try.
Once your decal is stuck to the wall, check for any air bubbles. These can cause an uneven finish and affect your decal's stickiness. You can smooth them out with any straightedge. Work from the middle and move outward, pushing air bubbles toward the edges.
Once your decal is smooth, remove your decal's paper backing. If you're having trouble removing it, you can try dampening the paper with a bit of water. With that, you're done! Step back, relax, and enjoy your brand-new decal.
If you feel like sprucing up your home with some creative, high-quality decals, check out VWAQ's impressive selection of wall decals, including vinyl wall quotes.